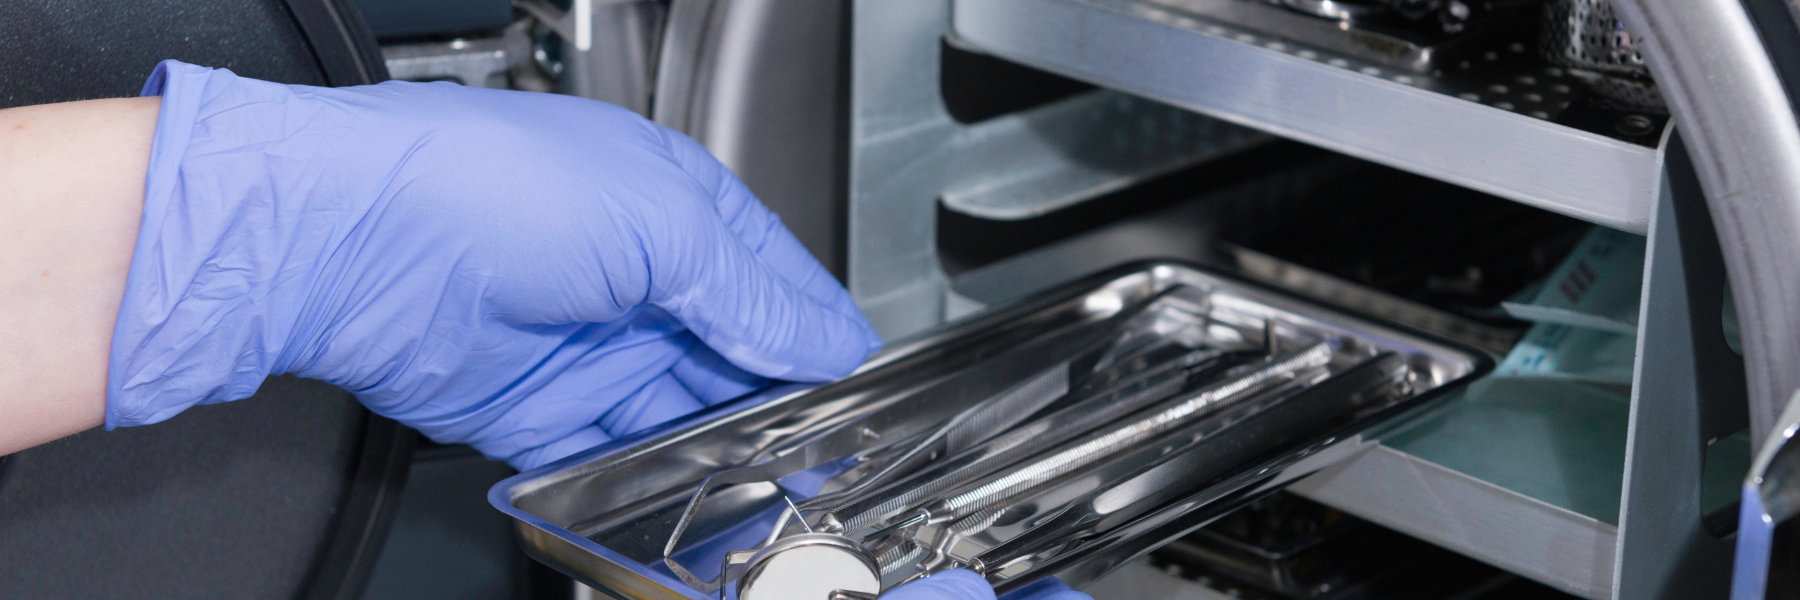
How to Effectively Autoclave Lab Materials
If you work in a laboratory, you understand the critical importance of maintaining cleanliness. Autoclaving lab materials plays a vital role in ensuring reaearch accuracy and safeguarding the safety of lab personnel.
Here at Innova Design Group, we understand how important it is to build good cleaning practices into lab design. This guide will explore best practices for autoclaving lab materials, from getting things ready to what to do afterwards.
What is Autoclaving?
Autoclaving is the process of sterilising equipment and materials using high-pressure saturated steam to kill microorganisms, spores, and viruses. It happens at temperatures of around 121°C and 15 PSI, which is hot and strong enough to kill germs and bacteria on lab equipment (even bacterial spores).
This method works well for cleaning various lab instruments, including:
-
Glass.
-
Some plastics.
-
Metal tools.
-
Fabrics.
-
Growth media for bacteria.
-
Variety of liquids.
Understanding what can and cannot go in an autoclave is important for keeping lab gear in good shape and cleaning things properly.
Types of Autoclaves:
Gravity Displacement Autoclave
The Gravity Displacement Autoclave is used to clean liquids and lab tools. It pushes steam into the machine to force out all the air.
Vacuum Autoclave
This type works best for cleaning items with many nooks and crannies. It uses a vacuum to suck out all the air, which helps the steam clean better.
Flash Sterilizers
These are for when you need something cleaned quickly. They are not the best choice for everyday use, however.
How to Autoclave Lab Materials Effectively:
Get Your Materials Ready
Before you begin, make sure everything is clean. Use special bags and containers that can handle the heat and steam; make sure not to seal them tight—the steam must enter to clean effectively.
Pick the Right Settings
Often, the machine will be set to 121°C and 15 PSI. Keep in mind that different materials require different amounts of time. Liquids, for example, require more time than solid materials and tools.
Load It Up Right
We recommend not cramming in too much at once. Spread things out so the steam can circulate. Use trays with holes to ensure the steam can reach every part of your tools.
What to Do After Autoclaving?
The job is not done when the autoclave ends. Here’s what to do next:
-
Let everything cool down before touching it. Hot materials can burn, and grabbing materials soon after Autoclaving can make them dirty again.
-
Store clean items in a clean, dry place. Once exposed to air, they are unlikely to stay clean for long.


